Physical Design + Manufacturing // Stanford Class Projects
Mechanical Engineering 102 & 103
ME 103 // Product Realization: Design and Making
Emma’s Egg Holder

This project was not only a meaningful personal endeavor but also a valuable learning experience. It deepened my understanding of manufacturing processes and significantly enhanced my engineering skills, particularly in designing for manufacturability. Overall, it was a challenging yet rewarding experience that combined creativity, craftsmanship, and technical precision.


The Project
This piece was my final project for ME 103. Over these 10 weeks, I spent my time in Stanford’s Product Realization Lab (PRL), utilizing multiple different machines and manufacturing skills. The inspiration for this project came from a trip to Spain, where I visited a close friend, Emma. In her household, a cherished tradition was serving soft-boiled eggs every morning in unique egg cups. I decided to create a very glorified version of this tradition as a gift for her, incorporating elements that reflect Spain’s rich culture. These details included a Barcelona tile-inspired hammer holder and a bead-blasted finish featuring Spanish floral patterns.
The Process
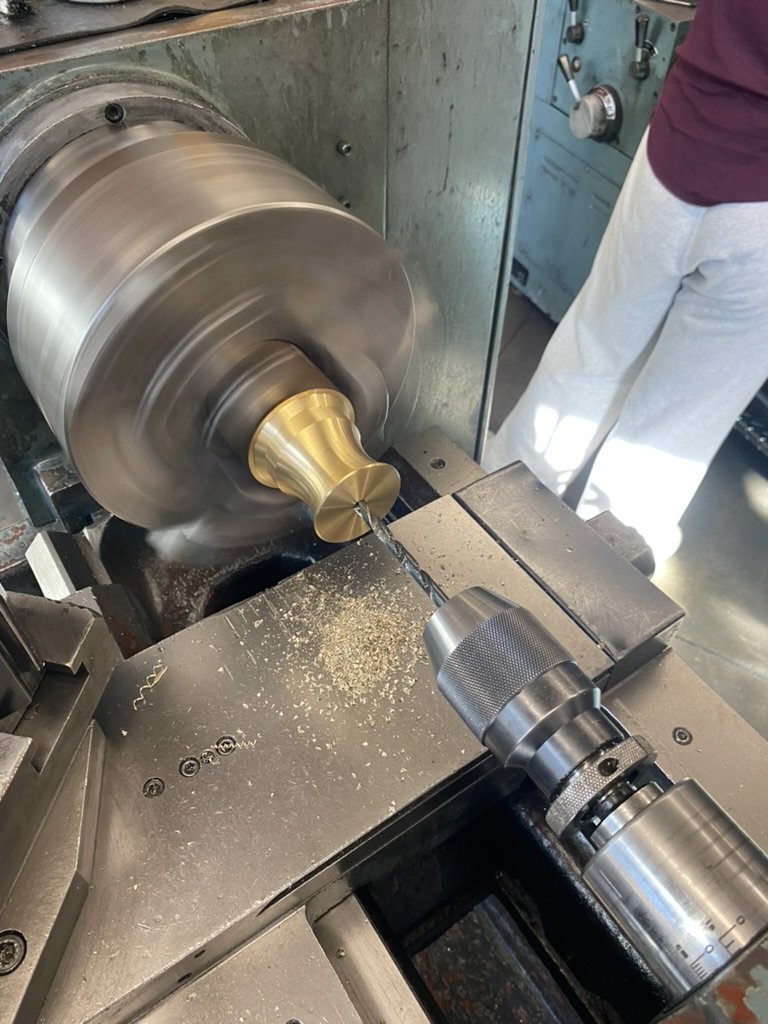
Throughout my time in the PRL, I used a variety of manufacturing processes to create this project, which consists of five distinct pieces, all secured with a single 1/4-20 shoulder screw.
Two of these pieces—the base and the middle—were made from brass stock. These were machined on a lathe using a radius cutter and a left-hand tool. The egg cup and miniature hammer were sand-casted using 3D-printed molds. The fifth and final piece, the Barcelona tile-inspired hammer holder, was 3D modeled and cut with a water jet cutter.
Additionally, I utilized a milling machine for various operations, including facing, tapping, drilling, chamfering, and other key processes. Beyond machining, I incorporated additional fabrication techniques such as sanding, polishing, bead blasting, vinyl cutting, and 3D printing to complete the piece with a refined and professional finish.
Alex’s Toolkit

The Project
During this project, I gained significant exposure to machining and various manufacturing processes in Stanford's Product Realization Lab (PRL).
This project was my first exposure to many manufacturing processes I had not encountered before. It not only taught me valuable skills but also inspired me to spend more time exploring new and mastering familiar processes in Stanford’s (PRL)
The Toolbox
I designed and created the toolbox by 3D modeling the sheet metal and using a water jet cutter to cut the outline and necessary holes. Once the sheet metal was prepared, I used various bending tools to shape it into a box. To secure the corners, I applied a range of techniques: oxy-acetylene welding for one corner, spot welding for another, and rivets, bolts, and nuts for the remaining two. This part of the project allowed me to explore and integrate multiple fabrication methods while enhancing my skills specifically in welding and sheet metal work.
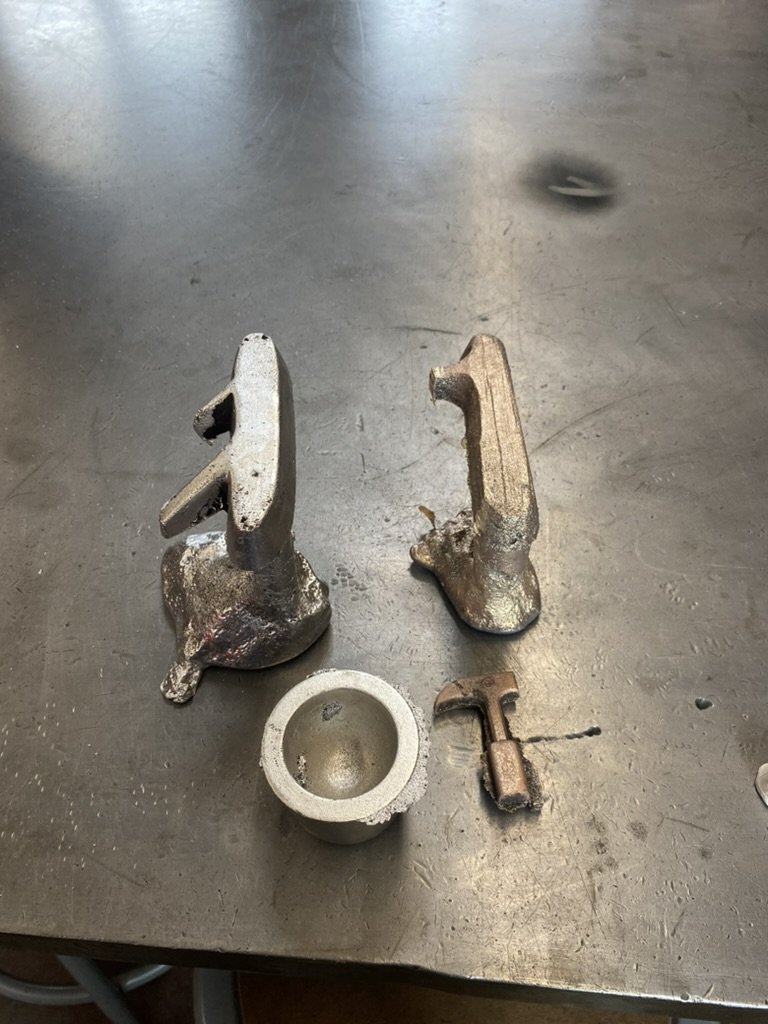
The Hammer
For the hammer, I crafted the handle and plastic hammer ends on a lathe, sand-casted the head, and used a mill to face the hammer’s surfaces and drill and tap the necessary holes. The final steps involved sanding and buffing for a polished finish, followed by engraving my name using a simple CNC milling operation. The hammer was then assembled using 1/4 - 20 rods and heat inserts for the plastic pieces. This part of the project provided my first experiences on a lathe and on a mill, ultimately inspiring me about machining as a whole.
ME 102 // Foundations of Product Realization
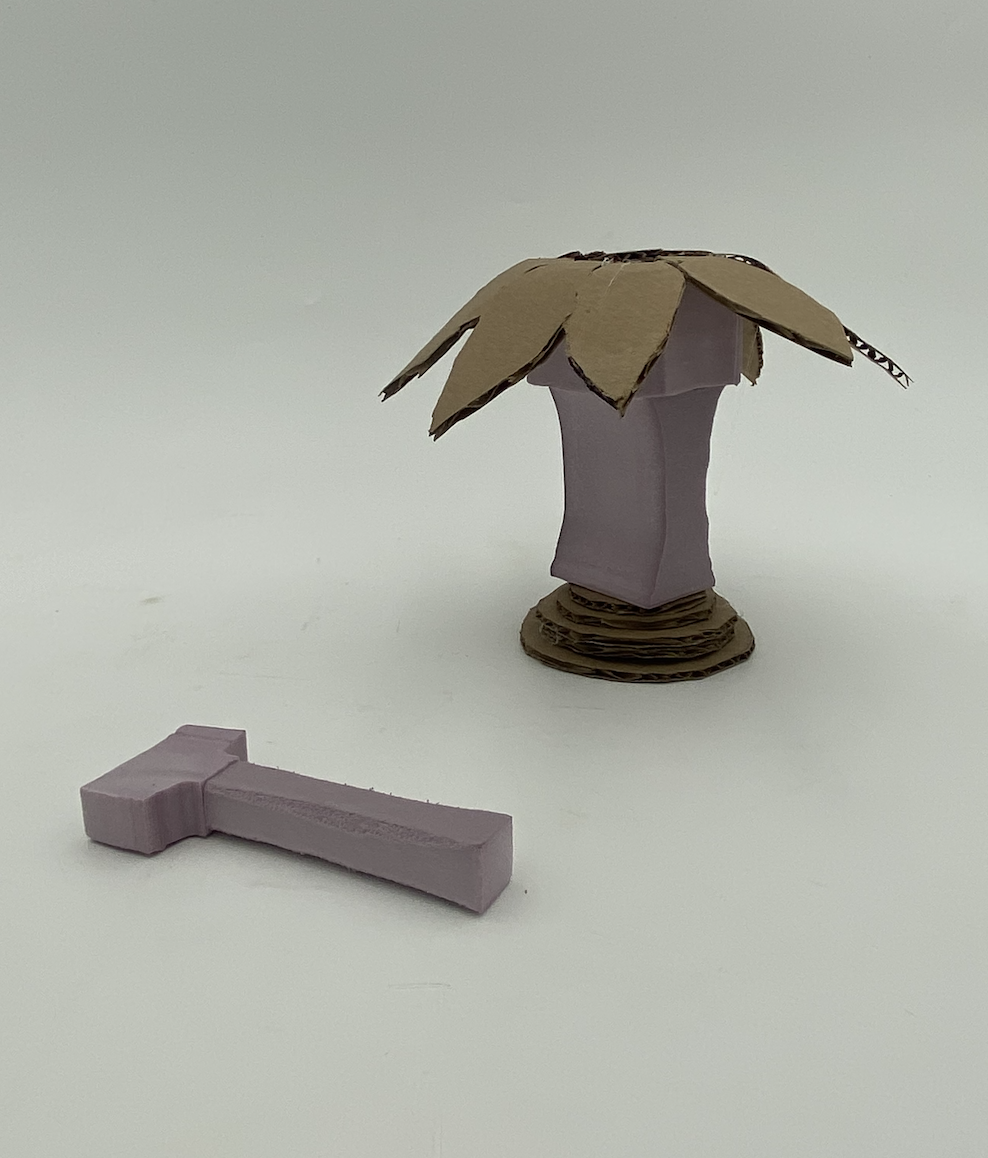
Gear Train


The Project
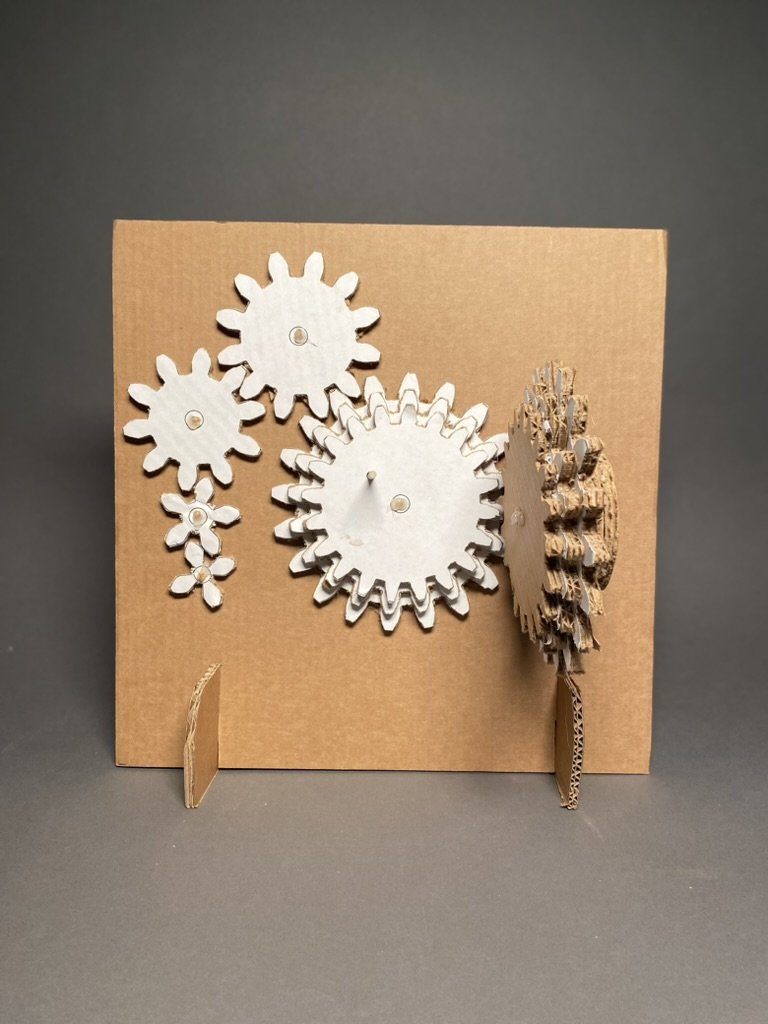
I prototyped, designed, modeled, engineered, and presented a gear train as my final project in ME 102. The goal of this project was to highlight the ratios between spur gears and demonstrate the overall significance of gears in mechanical systems. This project was recognized by the professor and selected to be showcased as a class example at Stanford's "Meet the Makers" event in Spring 2024.

The Process
After exploring various iterations of gear trains, bevel wheels, lever arms, and other mechanical systems, I ultimately chose to make my final project a gear train featuring several different spur gears and a perpendicular bevel wheel.
The four smaller spurs, backboard, stand, handle, and wall were 3D-modeled and laser-cut, then assembled using either press fits or shoulder screws and nuts. The main bevel wheel was also 3D-modeled and then printed using standard PLA material. The horizontal gear was assembled with a shoulder screw and nut, while the perpendicular gear utilized a press-fit D-shaft and a backplate for assembly.
This project significantly enhanced my skills in 3D modeling, sketching, prototyping, design thinking, 3D printing, laser cutting, and engineering mechanical systems.
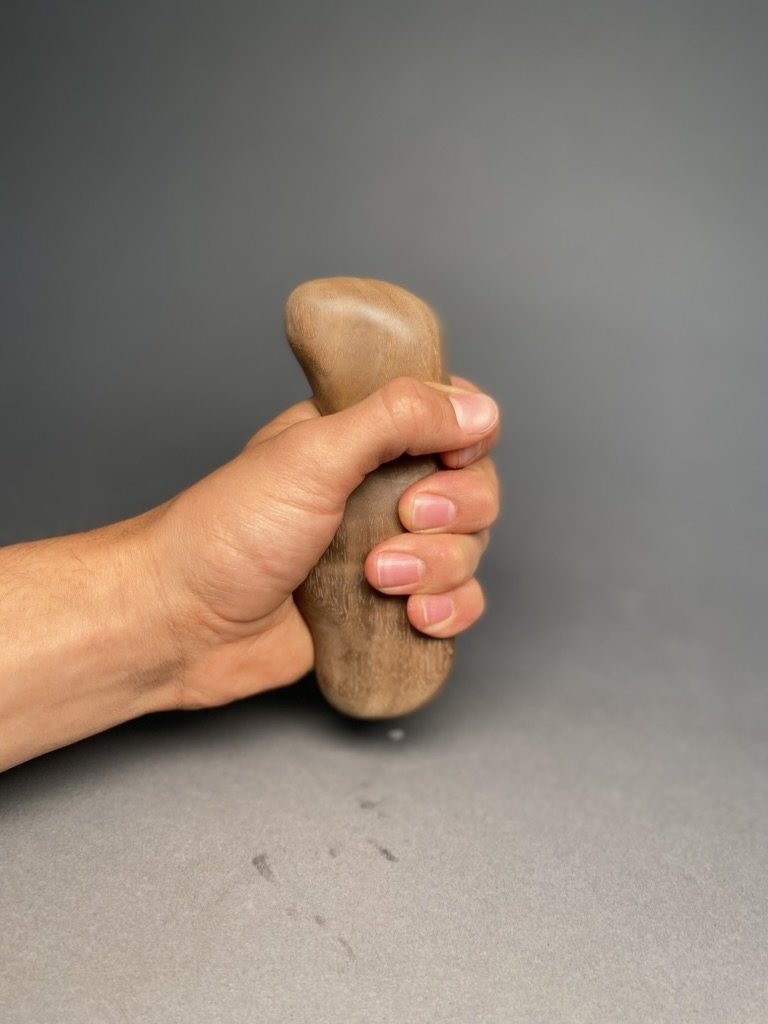
Object Gratifying Handle Art Piece

The Project
This project spanned 10 weeks, beginning with a simple block of wood. Using only a sanding wheel and sandpaper, I transformed it into my final piece. The purpose of this project was to create a functional piece of art inspired by a personal body feature. My goal was to design a personalized hand grip that felt natural and gratifying to hold.
Throughout the process, I made numerous tweaks and adjustments to ensure the piece fit more comfortably and soundly in my hand. This iterative approach allowed me to combine functionality and artistry in a truly personal way.
The project was recognized by my professor and selected to be showcased as a class example at Stanford's "Meet the Makers" event in Spring 2024.